Showing posts with label beginning the school year. Show all posts

Wednesday, July 25, 2012

Classroom Management

I used excel to create a class list with the students' classroom number (the students were numbered in alphabetical order), first and last name.   I would copy and paste this list a couple of times on the worksheet and print. Then the lists were cut out and taped down by the phone, by the cubbies (my cubbies were numbered so I didn't have to redo names each year) and one by my desk.

I was lucky enough to have a class set of computers in my classroom and the computers were numbers.  I taped a list on the cart to help a student helper or guest teacher determine who had not put their computer up yet.

I called this my 'small' class list.  If you want to get fancy, you can set up a master class list and link the 'small' lists to it.  Then when you change a child on the master list, it changes all the lists.  Print, cut out and replace the other lists and you are ready to go.

Usually I would use a fine tip marker and white out to fix the lists until they were messy from too many students coming and going.  Then I would print a new list.  Word of warning:  Every time I printed a new list a new student would come and mess the new list up.  :)


Monday, July 9, 2012

Beginning the School Year - Classroom Management

It's that time when I start thinking about the new school year.  Here are some of my thoughts and things I do for the beginning of the year.

When starting the school year, I used to have to think about my discipline plan.  Now I just think about how I might want to tweak it.   I think about how to lay out my room.  What worked for me last year, what needs changed, what other expectations are being thrown at me that might impact my room arrangement.  More on discipline plans later.

One management tool I like to use is making passes using lanyards.  I have a couple of bathroom passes, a couple of office passes, a couple of library passes, a couple of nurse passes (although we have a form to complete so these are only used if I need the child to go to the nurse's office for more band-aids or some other errand) and a couple of hallway passes in case I need a child to go somewhere other than the above mentioned places.  I use plastic hooks that are easily removed and reused to store the passes by the classroom door.  I used Publisher to create the passes.  I added clip art and labeled the passes appropriately.  The passes were laminated, cut out and attached to the lanyards.

Another management tool I use is a 'portfolio' of sorts for each child.  I do it two different ways and most of the time I use both.  One is a notebook with a tab section for each child.  The other is a container for hanging file folders (or you can use a file cabinet - I like the container because I can easily transport it and can keep it in the locked closet).  I always number my students.  They are required to put their name and number on their papers.  The numbering system makes it easy to keep track of assignments.  The notebook has tabs with numbers on them and the same for the file box.  This way I can reuse them year after year and not have to change names.  (It also isn't obvious to others that student information is in the notebook or file box.)  The notebook contains a parent information sheet on the child, an inventory the child completed, the signed permission slip from the parent/guardian for commenting/writing on the class blog and other technology pieces in our classroom, the child's results from any beginning of the year screenings/tests and any other pertinent information.  The file box contains work for conferences.

I have a box labeled 'absent folders' with a numbered file folders in it.  Back in worksheet days I would put the work a child missed in their folder.  I didn't use this box so much in the last few years as I didn't pass out many worksheets.  If someone was absent several days it was handy for putting the homework in, notes from the office and anything else that the child/parent might need when the child returned.  It was nice to have it in one spot and not jammed into a desk, scattered on top of a desk, or in a cubby with who knows what all else.

One of my favorite beginning of the year things to do with my 4th grade students is to make name tags for their desks.   I love using Publisher with my students and this is their introduction to it.  I take their pictures and load them in a file that is accessible to them.  They open the template I have for them, put their name in, and insert their picture in the spots provided.  They learn how to re-size the picture, save the document in their folder, and print it.  The template has the name tag and other picture/name boxes that are used for an attendance chart, their computer accessories bag, and the center chart.  They cut the documents out and add color to their name tag.  I laminate them and we tape them to their desks.  Substitutes love them.  I also use the pictures to create a seating chart for my sub folder.


Friday, August 19, 2011

4th grade, 4th grade

Brown Bear, Brown Bear, What Do You See?  (Bill Martin Jr and Eric Carle) You might think this book is too simple for 4th grade.  I read it to my class and they loved it.  I think the repetition was comforting and they loved the descriptions given the animals along with the illustrations.

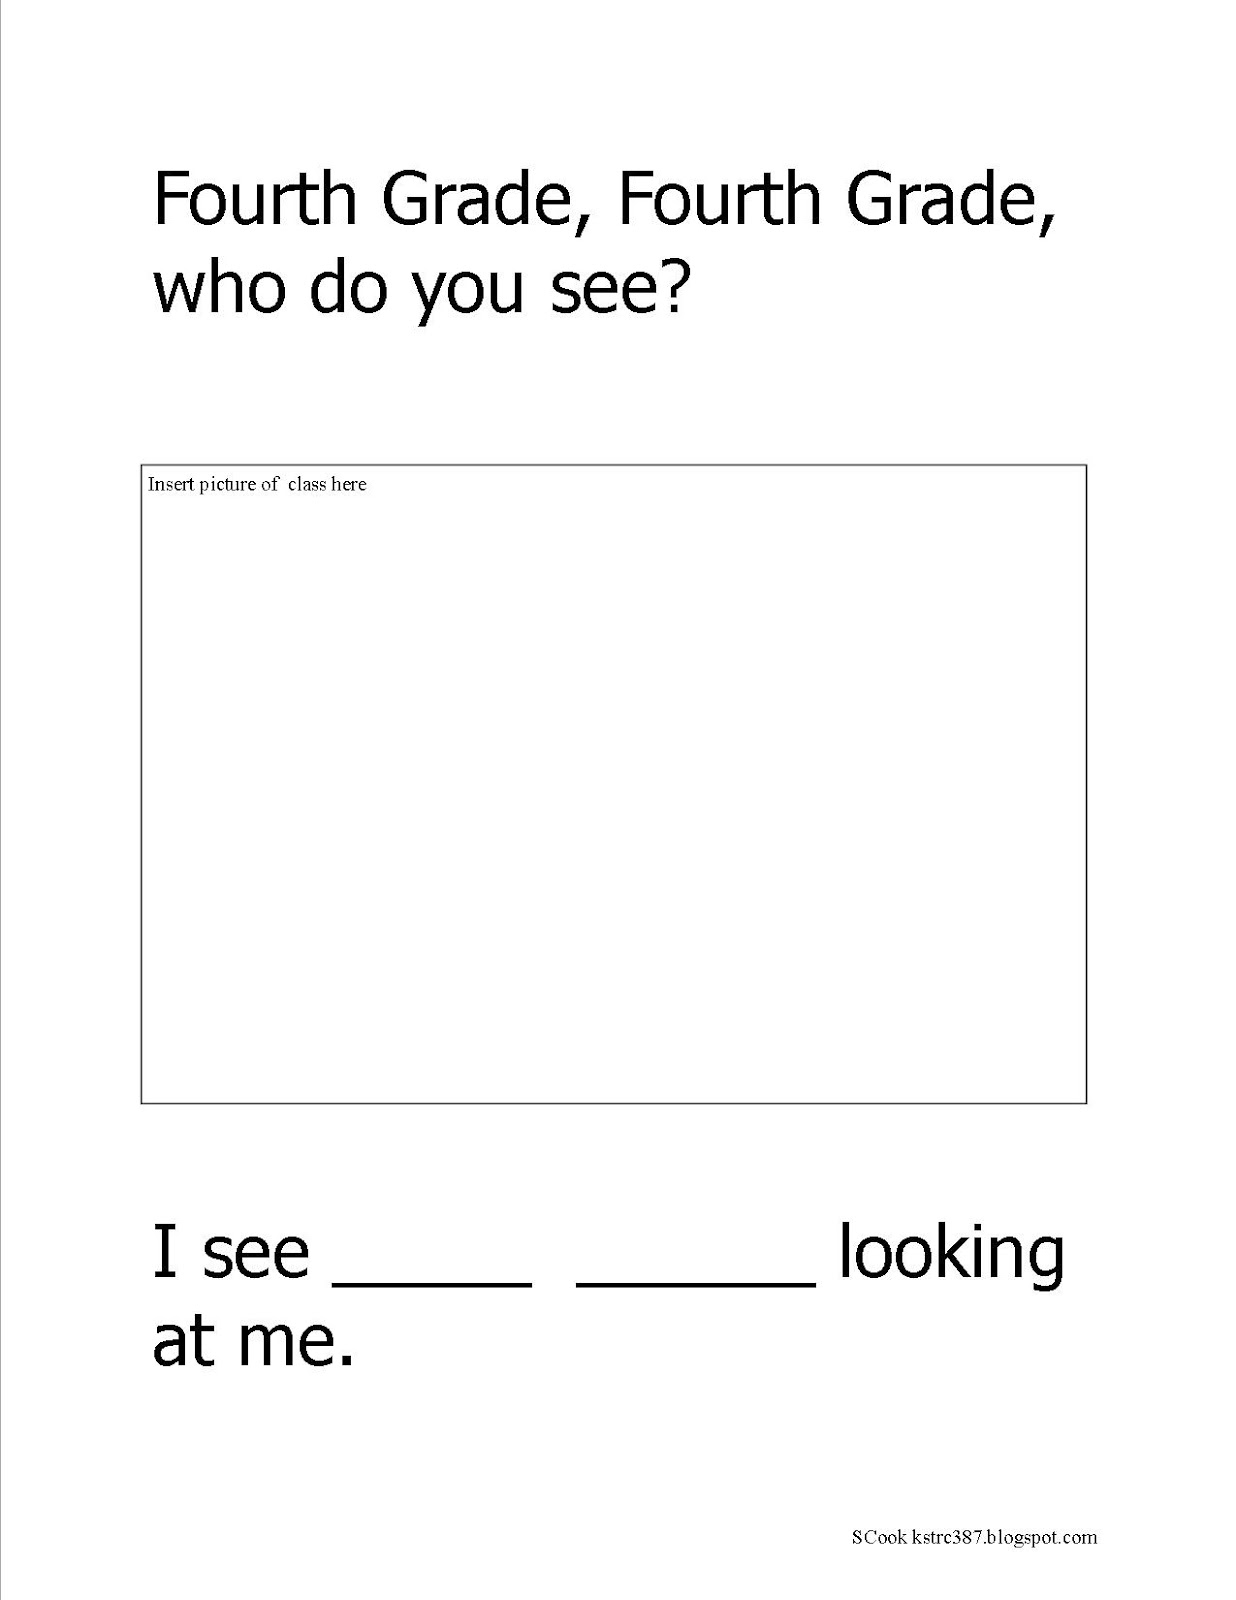
I read it to them because I wanted them to create a book.  I wanted to create a book using the repetition to give students an opportunity to practice using Publisher and a chance to get to know their classmates.  It kept the basic document the same which made it easier for me to focus on the technology skills.  They had to find a document (the template I made) in the public folder. The file was renamed and saved in their document file.  They highlighted and replaced text.  They inserted a picture and re-sized it.  They saved and printed their document.  (Picture of template below.)

The students each have a number assigned to them in the classroom.  The number goes on everything assigned to a particular student.  The number is assigned after putting students in alphabetical order.  So my first child in alphabetical order is given the number 1.  Next gets 2 and so on.  Students line up according to their number when we leave the classroom so they are familiar with their number and the students who stand near them in line.  I used the class numbers for this project  to make it easy to know who was "seeing" whom next.

Student 20 did Student 1, Student 1 did Student 2 and so on.  I explained the students would create a page using the classmate who stood behind them in line.  The last person in line (referred to as student 20 in this example) did the first student in line (referred to as student 1 in this example).

The first page started with Fourth Grade, Fourth Grade, who do you see?  Then we put a picture of the class.  The bottom of the page had the reply.  I see Joyful Jamie (student 1) looking at me.  (All student names are made up.)   I made the first page.

Student 20 made the next page.  Joyful Jamie, Joyful Jamie, who do you see?  Student 20 put Joyful Jamie's (student 1) picture in the middle of the page.  The reply was typed at the bottom of the page.  I see Marvelous Mary (student 2) looking at me. 
Student 1 made the next page.  Marvelous Mary, Marvelous Mary, who do you see?  Student 1 put Marvelous Mary's (student 2) picture in the middle of the page.  The reply was typed at the bottom of the page.  I see Incredible Ian (student 3) looking at me. 

Student 2 made the next page.  Incredible Ian, Incredible Ian, who do you see?  Student 2 put Incredible Ian's (student 3) picture in the middle of the page.  The reply was typed at the bottom of the page.  I see Graceful Gloria (student 4) looking at me.
This continued for all students.

Student 19 put the reply at the bottom of the page as I see my class looking at me. 

The last page of the book has our class name at the top and another picture of the class...I used a silly picture for the last picture and I created this page.


To help the students I gave each student a sticky note.  They then checked the name tag of the person who stands in line behind them (as noted above).  The name tag checking was to verify the spelling of the classmate's name.  Then students grabbed a dictionary and looked for a positive word to use.  The word had to start with the same letter as the classmate's name.  Marvelous Mary, Incredible Ian, Right-handed Roger  (We talked about alliteration.)

Students had to okay words such as acrobatic or jumping to describe their classmate.

Now each student had a sticky note containing the classmate's name and descriptive word.  They opened the file containing the template I made for them using the first page verbiage.  Students highlighted the words Fourth Grade and changed them to their classmate's name.  Then the classmate's picture was inserted.  Once we had that much done students saved the file.  The next part was tricky for them.  They tried to understand and I had to tell them to just listen and follow the directions.  They had to "borrow" the sticky note of the person their page is about.  So Joyful Jamie (Student 1) "borrowed" the sticky note Marvelous Mary (student 2) made.  The borrowed sticky note had the name of the person to put at the bottom of their page.  Once they highlighted and replaced the name at the bottom of the page they returned the sticky note to the person from whom it was borrowed.  It sounds complicated, but it really isn't.

Each student saved and printed the document.  It turned out to be a really cute book.  Not only did it give us the opportunity to practice some tech skills, the project allowed us to discuss alliteration, follow directions, use a dictionary, and discuss why some names had a squiggly red line and some didn't.

We published two copies of the book.  One was bound and the other was displayed across the wall by our classroom door.  We left it up for the entire year.

Here is a photocopy of the template of the book.  The students used page 3 (except for the last student who used page 4).  I would save a copy of the document and delete the pages not needed for the students for a student template. (I would be glad to share the template.  Leave me a message with your email address and I'll send it to you.  I will NOT publish your email address.)   Post a message to let me know how it works for you and I would love to know what changes you make to it.




Wednesday, August 17, 2011

New School Year

Today was the first day with students.

We used Publisher to make a name tag for desks.  I made a template for the students to use.  They opened the file and highlighted boxes to change information.  They inserted a picture to personalize the name tag.  The pictures had to be resized to fit in the box.  The students saved the file and printed it.   Since the name tags have student pictures on then, do I need a seating chart?

Tomorrow we are going to use Bill Martin Jr/Eric Carle's book Brown Bear, Brown Bear to create a book about our class.  This will give students a chance to practice what we did today.  
Brown Bear Brown activity

Friday we are going to work on a number book for a kindergarten class.  Students will get to practice one more time the skills we learned using Publisher although instead of a picture students will use clip art to illustrate the numbers.