Showing posts with label integrating writing with reading. Show all posts

Friday, January 4, 2013

Whistle for Willie

Whistle for Willie
Author:  Ezra Jack Keats

Possible Common Core Standards:
RL.4.2
RL.4.3
W.4.3

This idea could be done in one or more writing sessions depending on how much you want to develop it in your classroom.

This is a great story about perseverance.  Read it and discuss it.  How does the author let the reader know how much Willie wants to whistle?  How do you as the reader know he is trying?

Ask students to think of something they had to work hard to learn how to do.  My favorite example is my youngest son wanted to hit a ball with a bat.  He spent hours in the yard throwing the ball up and swinging and missing.  One day he finally hit it and he rarely missed after that.  It could be learning to read or learning to subtract.  For the students who tell you they didn't have any problems learning anything, tell them to make something up.  :)    

Ask students to think of either something that truly happened while learning or to make something up that would make the story more interesting.  In Whistle for Willie, Willie hid in a box trying to whistle for his dog. In my son's story he could spin every time he misses and make himself dizzy.   It's up to you as to whether or not it has to be realistic.


Thursday, January 3, 2013

Sheila Rae, The Brave

Sheila Rae, The Brave
Author: Kevin Henkes

Possible Common Core Standards:
RL.4.1
RL.4.3
RL.4.4
W.4.3
W.4.4

Read Sheila Rae, The Brave.  Ask for one characteristic that describes her...looking for the word brave.  Look for and log examples of where she was brave and discuss why those events characterize her as brave.  Was she brave throughout the story? Discuss.  Talk about how the story revolves around the word brave.

Choose a word as a class to write a story similar to Sheila Rae, The Brave.  Brainstorm and list possible examples displaying the characteristics of the word.  Think of a few situations that would be the opposite of the word for the problem in the story.  Write a class story using the examples thinking of a way to solve the main character's 'problem' and end with the character defining the main word again just as Sheila Rae does in her story.   Title the story patterned the same as Sheila Ray, The Brave and make sure to put 'patterned after Sheila Ray, The Brave by Keven Henkes' with it.

Ask students to each (or with a partner) choose a word to base a story.  I posted a link to a list of possible words below. Sneaky or messy come to mind as fun words to use.   If the words seem too easy, use a thesaurus to find a similar word but not as well known.  Have fun with it!  After choosing the word, start logging situations that would make a reader think of the word. Think of a few situations that would be the opposite of the word for the problem in the story.  Put the situations into a story.   Make a bold statement using the word to start the story and include a solution to the problem along with an ending to the story.  Title the story patterned the same as Sheila Ray, The Brave and make sure to put 'patterned after Sheila Ray, The Brave by Keven Henkes' with it.

List of character traits:
http://www.readwritethink.org/files/resources/lesson_images/lesson175/traits.pdf


Wednesday, January 2, 2013

Tom

Tom
Author:  Tomie dePaola

Possible Common Core Standards:
RL.4.3
W.4.3

Tom is a great springboard to getting kids to write about real life experiences with a special person in their lives.

To start with, read the book to the students.  Make a list of events as the book is read.  

After reading the book use the list to revisit the book and look for additional details which made the event interesting.  Assign an event to a pair or group of children and have them complete a web of details with one event on chart paper.  This would be a great way to discover that not all of the events have the same about of 'time' in the story.  I would ask for minor events and major events after working through all of them.

Next look for transitions in the story.  How does the author move from one event to the next.  Chart the transitions.

Ask students to think about a person in his/her life who is special.  It could be a grandparent, aunt, uncle, parent, older/younger sibling, friend or neighbor, but it should be someone he/she has contact with and spends time with on a regular basis. Brainstorm a list of events.  (If a child can't choose, he/she could write two names down and then brainstorm 'events' for both and finally choosing based on the events most interesting to the student.)

Remind students events don't have to be something major like the chicken hands.   Ask students to choose one event to write about.  I would continue to ask students to write about individual events without worrying about putting them together into a story.  Write them on separate pieces of paper.  Once all of the events are written and edited, ask students to put the events into an order than makes sense to them.   Students should consider one to be the beginning of the story and one should lend itself to concluding the story.  Refer back to Tom.  Talk about transition words that may work to link the events together.  

Title the book the name of the person who shared the events with the author.

Ask students to share their story with a friend or should partner to do the final editing.

Publish.  

I really like using studentpublishing.com.  If you have access to computers, students could type the story using word, convert to pdf and upload it to the website.  My students illustrated and then scanned the illustrations.  The jpg files were pulled into the document before converting to a pdf file.  We also typed the story on the website using their software and students can illustrate using the graphics on the website.  To manage each student's story progress I created a chart.  When I find the chart I will post a picture.)  There are other publishing companies on the web, but studentpublishing.com is the one I used and I was very happy with the results.  We used the published books as presents.


Friday, August 19, 2011

4th grade, 4th grade

Brown Bear, Brown Bear, What Do You See?  (Bill Martin Jr and Eric Carle) You might think this book is too simple for 4th grade.  I read it to my class and they loved it.  I think the repetition was comforting and they loved the descriptions given the animals along with the illustrations.

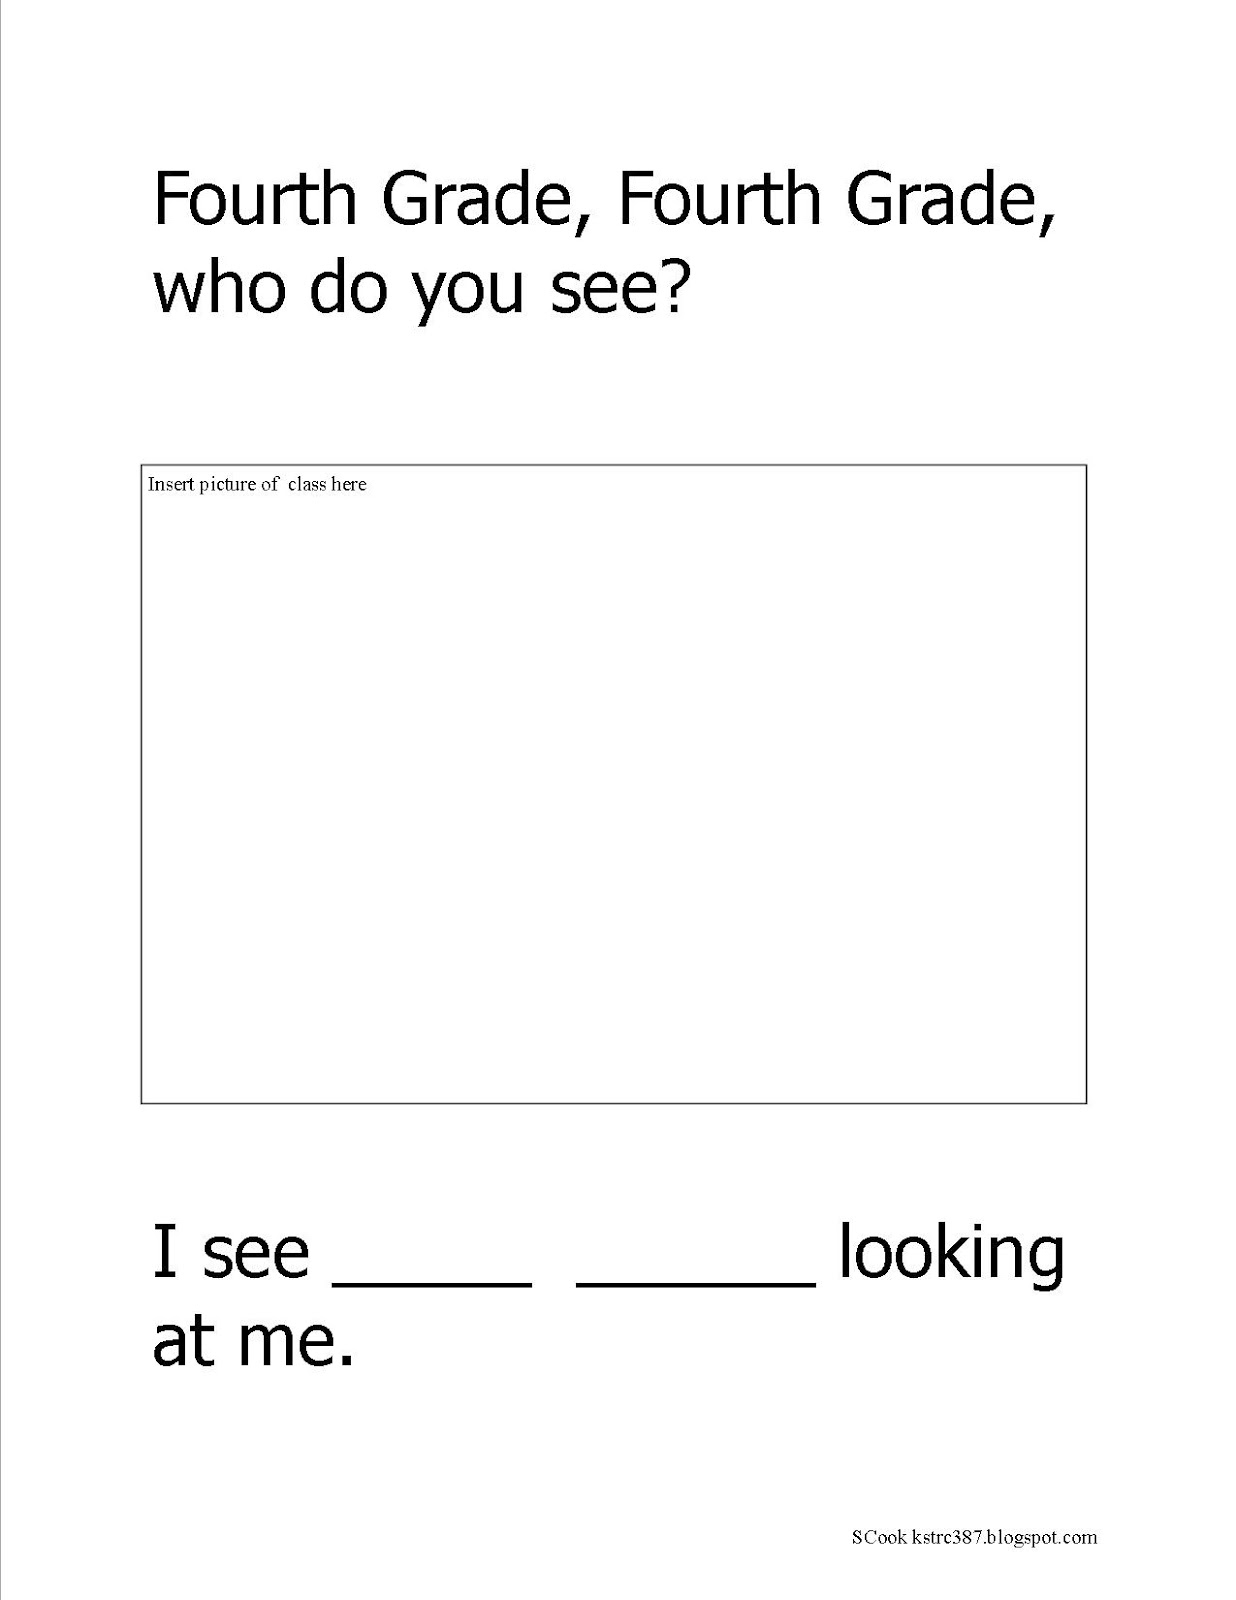
I read it to them because I wanted them to create a book.  I wanted to create a book using the repetition to give students an opportunity to practice using Publisher and a chance to get to know their classmates.  It kept the basic document the same which made it easier for me to focus on the technology skills.  They had to find a document (the template I made) in the public folder. The file was renamed and saved in their document file.  They highlighted and replaced text.  They inserted a picture and re-sized it.  They saved and printed their document.  (Picture of template below.)

The students each have a number assigned to them in the classroom.  The number goes on everything assigned to a particular student.  The number is assigned after putting students in alphabetical order.  So my first child in alphabetical order is given the number 1.  Next gets 2 and so on.  Students line up according to their number when we leave the classroom so they are familiar with their number and the students who stand near them in line.  I used the class numbers for this project  to make it easy to know who was "seeing" whom next.

Student 20 did Student 1, Student 1 did Student 2 and so on.  I explained the students would create a page using the classmate who stood behind them in line.  The last person in line (referred to as student 20 in this example) did the first student in line (referred to as student 1 in this example).

The first page started with Fourth Grade, Fourth Grade, who do you see?  Then we put a picture of the class.  The bottom of the page had the reply.  I see Joyful Jamie (student 1) looking at me.  (All student names are made up.)   I made the first page.

Student 20 made the next page.  Joyful Jamie, Joyful Jamie, who do you see?  Student 20 put Joyful Jamie's (student 1) picture in the middle of the page.  The reply was typed at the bottom of the page.  I see Marvelous Mary (student 2) looking at me. 
Student 1 made the next page.  Marvelous Mary, Marvelous Mary, who do you see?  Student 1 put Marvelous Mary's (student 2) picture in the middle of the page.  The reply was typed at the bottom of the page.  I see Incredible Ian (student 3) looking at me. 

Student 2 made the next page.  Incredible Ian, Incredible Ian, who do you see?  Student 2 put Incredible Ian's (student 3) picture in the middle of the page.  The reply was typed at the bottom of the page.  I see Graceful Gloria (student 4) looking at me.
This continued for all students.

Student 19 put the reply at the bottom of the page as I see my class looking at me. 

The last page of the book has our class name at the top and another picture of the class...I used a silly picture for the last picture and I created this page.


To help the students I gave each student a sticky note.  They then checked the name tag of the person who stands in line behind them (as noted above).  The name tag checking was to verify the spelling of the classmate's name.  Then students grabbed a dictionary and looked for a positive word to use.  The word had to start with the same letter as the classmate's name.  Marvelous Mary, Incredible Ian, Right-handed Roger  (We talked about alliteration.)

Students had to okay words such as acrobatic or jumping to describe their classmate.

Now each student had a sticky note containing the classmate's name and descriptive word.  They opened the file containing the template I made for them using the first page verbiage.  Students highlighted the words Fourth Grade and changed them to their classmate's name.  Then the classmate's picture was inserted.  Once we had that much done students saved the file.  The next part was tricky for them.  They tried to understand and I had to tell them to just listen and follow the directions.  They had to "borrow" the sticky note of the person their page is about.  So Joyful Jamie (Student 1) "borrowed" the sticky note Marvelous Mary (student 2) made.  The borrowed sticky note had the name of the person to put at the bottom of their page.  Once they highlighted and replaced the name at the bottom of the page they returned the sticky note to the person from whom it was borrowed.  It sounds complicated, but it really isn't.

Each student saved and printed the document.  It turned out to be a really cute book.  Not only did it give us the opportunity to practice some tech skills, the project allowed us to discuss alliteration, follow directions, use a dictionary, and discuss why some names had a squiggly red line and some didn't.

We published two copies of the book.  One was bound and the other was displayed across the wall by our classroom door.  We left it up for the entire year.

Here is a photocopy of the template of the book.  The students used page 3 (except for the last student who used page 4).  I would save a copy of the document and delete the pages not needed for the students for a student template. (I would be glad to share the template.  Leave me a message with your email address and I'll send it to you.  I will NOT publish your email address.)   Post a message to let me know how it works for you and I would love to know what changes you make to it.