First we briefly talked about when our country wasn't a country and who ruled the colonies. I read Yertle, the Turtle to the class to get an idea of not having any rights. Then we talked about why we needed a government.
Each team was given a piece of chart paper folded into thirds. Each team had four different colors of sticky notes. Each child was assigned one color.
We read about the three branches of government in We the People. After each branch we discussed the important details. As a team they decided who was going to write which detail to put on their chart. The colors let me know who was participating in the group. I could slow someone down and work on someone else to work a little faster.
Once we finished the We the People book, I gave the students another kid friendly article about the three branches. This time they were on their own gathering details although I only let them do one branch at a time to keep the activity from overwhelming some students. Once again I monitored the color of the sticky notes going on the chart.
Teams were responsible for monitoring the details so that no detail appeared twice on their chart.
Now we were ready to start our computer project. Students opened PowerPoint to access the following two slide template.


Now they were ready to start adding the details they worked so hard to find earlier. I had them start with the legislative branch. They had to put a title box and five detail boxes. I make them use the font Tahoma so they don't spend all their time deciding on a font. I also told them to make the title box size 18 while making the detail boxes size 14. If they needed more room they made the detail box font smaller.

The boxes were moved to another section after all details were added.

Then rotated.

We did this again for the executive branch and slid the text boxes on the top left of the circle and rotated them facing out. Finally the judicial branch was completed and left in the bottom third.
Students fine tuned the boxes making sure all text fit inside the circle part and faced the proper direction.
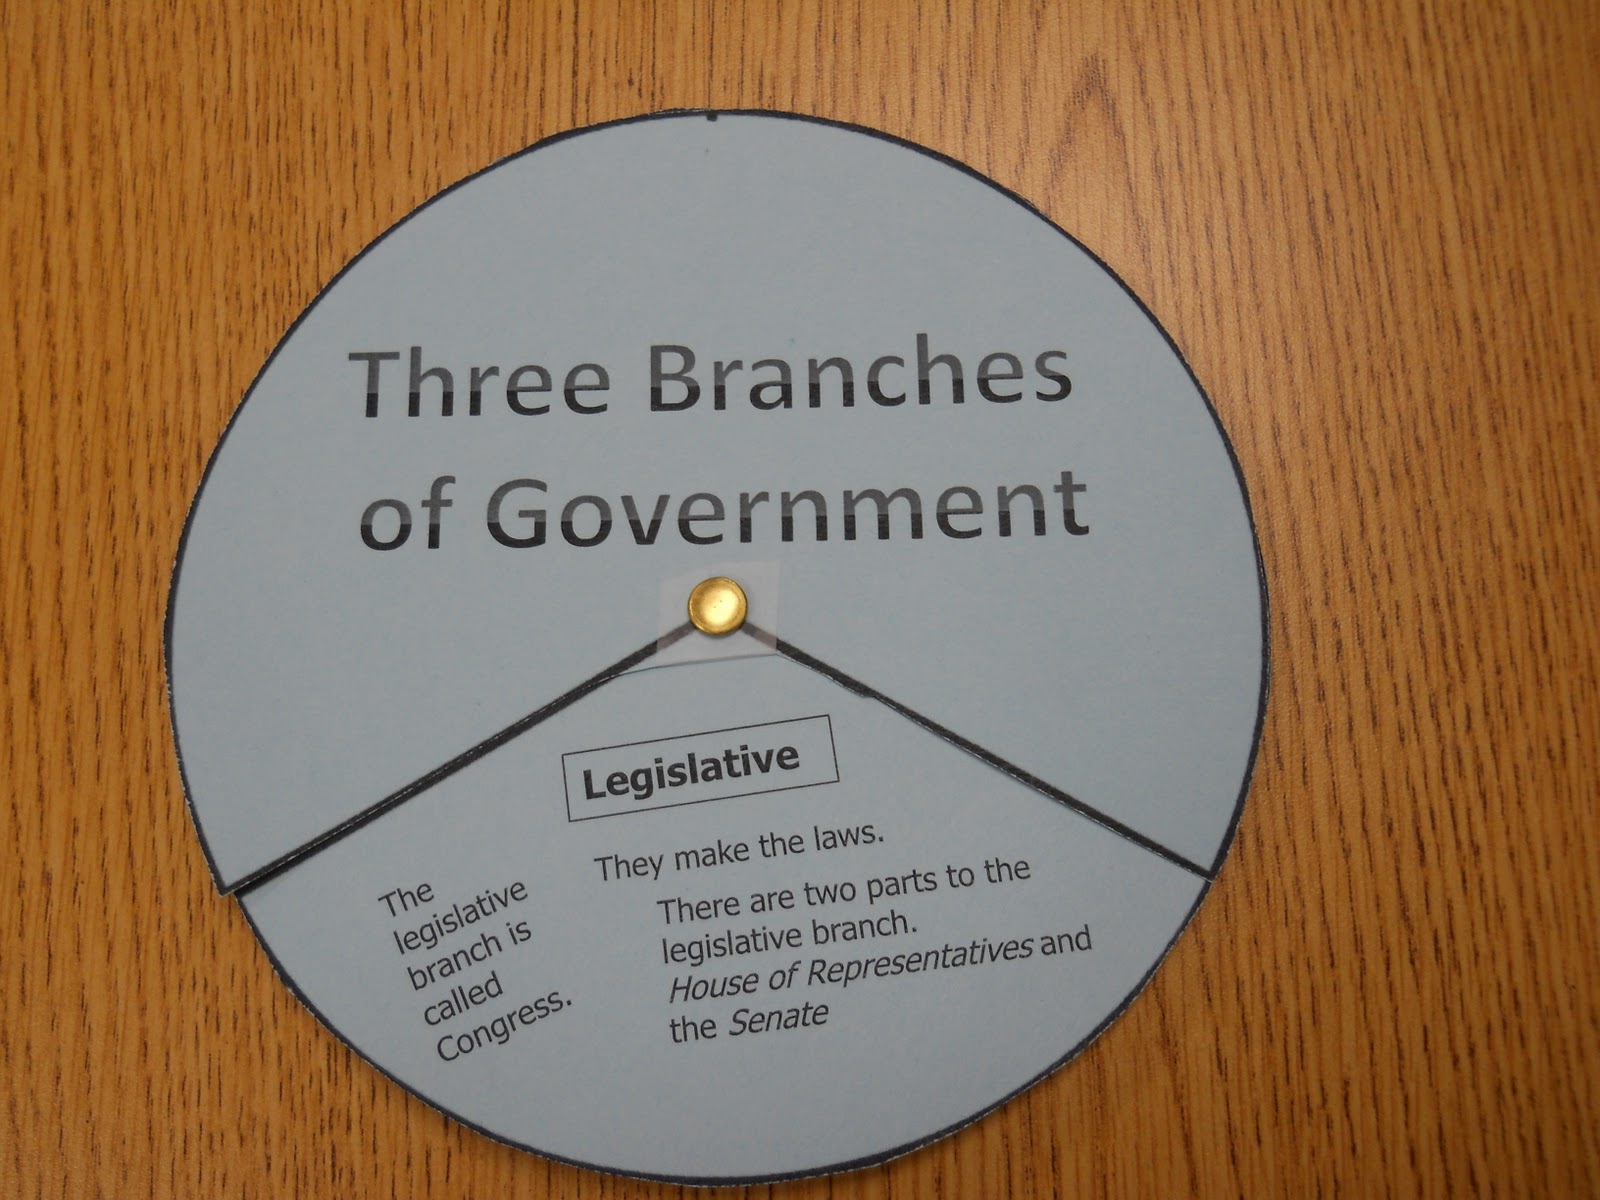
When everything was complete to their satisfaction they printed the two pages. They cut the circle with the information on the branches and I had them wait on the title circle. We did that one together so that I could demonstrate where to cut. We could not cut a complete third out as there would not be a good place to put the brad connecting the two pieces of paper. Therefore an extra line appeared in the "cut this part out" section. Student cut across that line leaving a "lip" of paper to give support to the brad. I also put a piece of scotch tape on each title page to add a little more support for the brad.
Students carefully poked a hole in the center of both papers and inserted the brad.
Their three branches of government wheel was complete.


We the People. Calabasas CA: Center for Civic Education, 1996. Print. Student Text Level I.
No comments:
Post a Comment