Instead of copying the graphic organizer for students to complete as a pencil/paper task the students created the graphic organizer using Publisher. It was a simple organizer and allowed the students an opportunity to practice using Publisher. Students created a text box with a border. A bold title was centered along with changing the font and size of the text. Students then changed the next line of text to align to the left of the box and toggled the bold setting off. The boxes were copied and pasted until all needed boxes were placed on the document. Headings were changed to fit the graphic organizer. Students then clicked in each box and added the applicable content to each box. A text box was added to the top of the document for the student's name.
The organizer had five boxes. Problem, Action, Action, Action, Solution
Wednesday, August 31, 2011
Thursday, August 25, 2011
Thesaurus and Writing and Nouns
The students typed a simple sentence into Word. For example:
The little boy cried.
They highlighted little and right clicked. Then they looked at synonyms and clicked on thesaurus. They had a good time looking for a new word to use for little. Then we did the same thing for cried. Nothing came up but the word cry. We talked about it being the base word of cry so told the computer to look up cry. Once again they enjoyed the choices of words. We talked about having to add ed to the word because the sentence was past tense. The new sentences were definitely more interesting that the original.
One day we highlighted, copied and pasted a passage into word. We also copied and pasted the address so anyone looking at our paper would know where the passage came from. Then we practiced bolding words by looking for nouns to bold. We also changed the color of the text a few times just to get them familiar with it.

Friday, August 19, 2011
4th grade, 4th grade
Brown Bear, Brown Bear, What Do You See? (Bill Martin Jr and Eric Carle) You might think this book is too simple for 4th grade. I read it to my class and they loved it. I think the repetition was comforting and they loved the descriptions given the animals along with the illustrations.
I read it to them because I wanted them to create a book. I wanted to create a book using the repetition to give students an opportunity to practice using Publisher and a chance to get to know their classmates. It kept the basic document the same which made it easier for me to focus on the technology skills. They had to find a document (the template I made) in the public folder. The file was renamed and saved in their document file. They highlighted and replaced text. They inserted a picture and re-sized it. They saved and printed their document. (Picture of template below.)
The students each have a number assigned to them in the classroom. The number goes on everything assigned to a particular student. The number is assigned after putting students in alphabetical order. So my first child in alphabetical order is given the number 1. Next gets 2 and so on. Students line up according to their number when we leave the classroom so they are familiar with their number and the students who stand near them in line. I used the class numbers for this project to make it easy to know who was "seeing" whom next.
Student 20 did Student 1, Student 1 did Student 2 and so on. I explained the students would create a page using the classmate who stood behind them in line. The last person in line (referred to as student 20 in this example) did the first student in line (referred to as student 1 in this example).
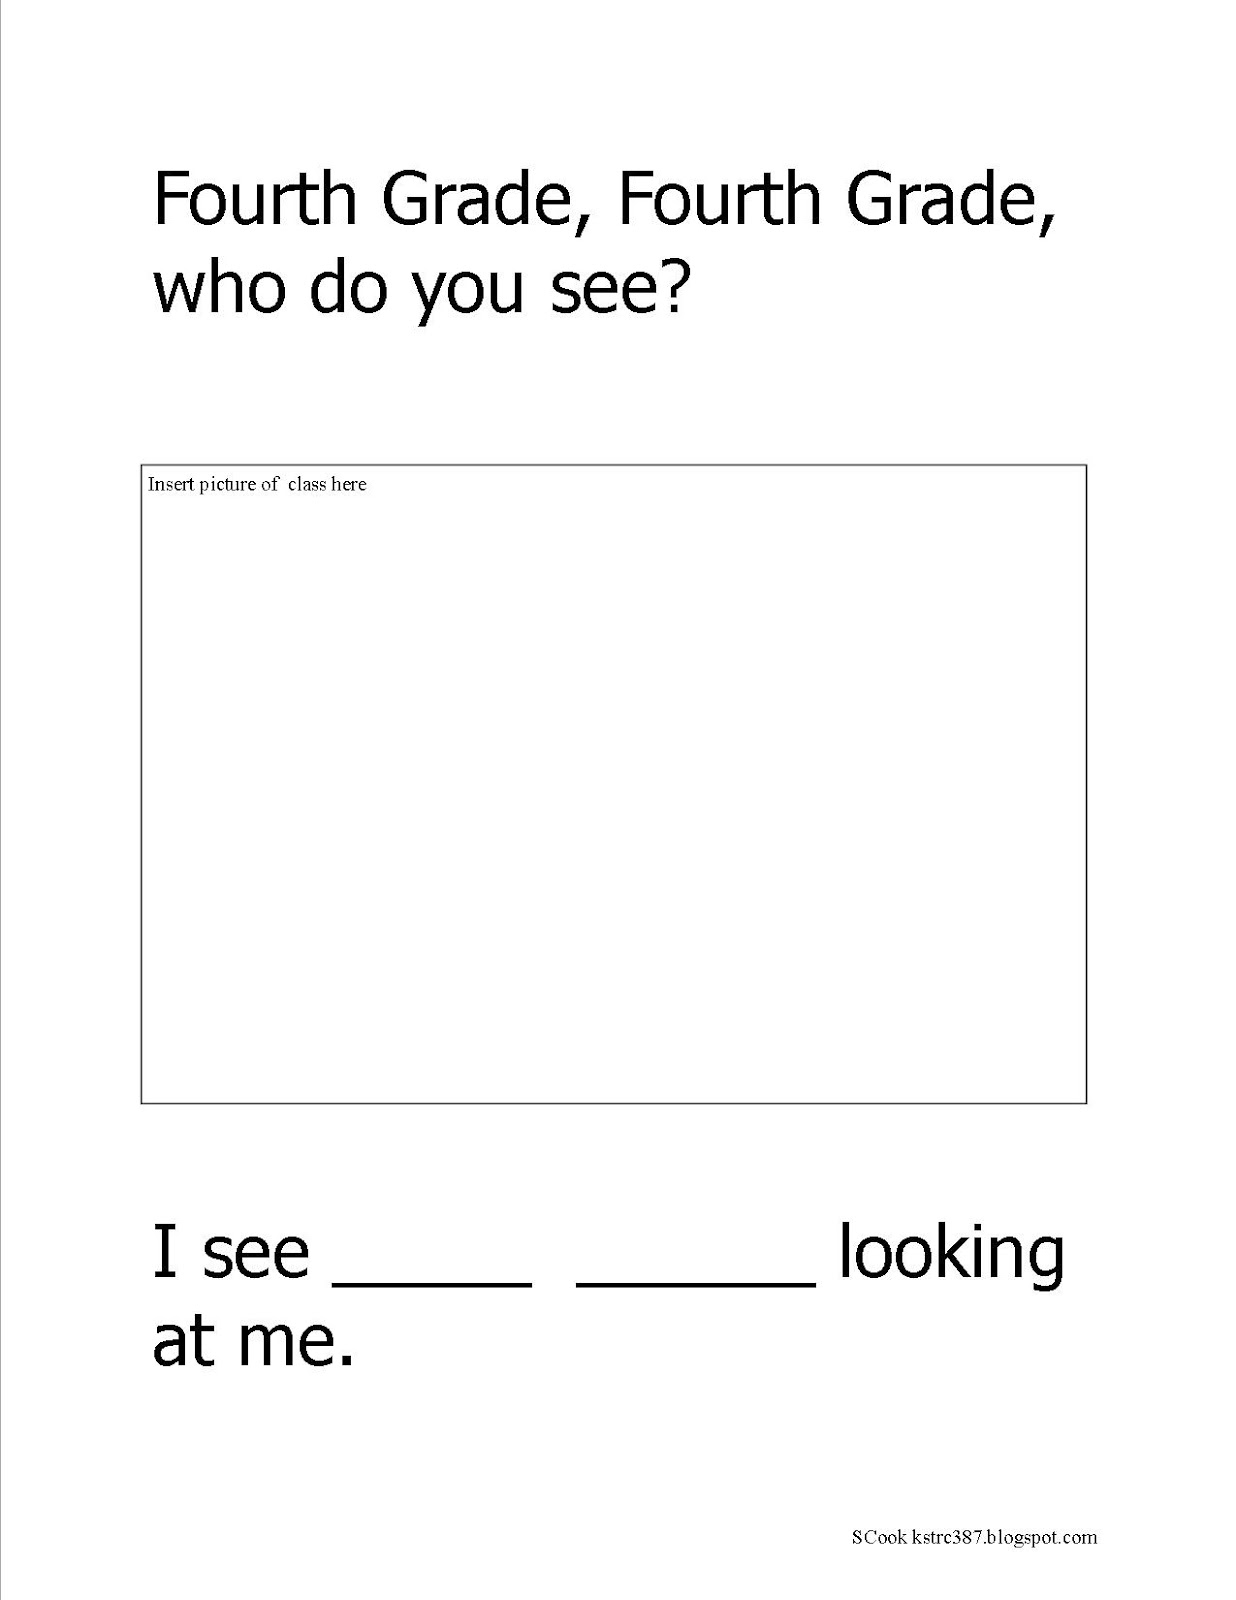
The first page started with Fourth Grade, Fourth Grade, who do you see? Then we put a picture of the class. The bottom of the page had the reply. I see Joyful Jamie (student 1) looking at me. (All student names are made up.) I made the first page.
Student 20 made the next page. Joyful Jamie, Joyful Jamie, who do you see? Student 20 put Joyful Jamie's (student 1) picture in the middle of the page. The reply was typed at the bottom of the page. I see Marvelous Mary (student 2) looking at me.
Student 1 made the next page. Marvelous Mary, Marvelous Mary, who do you see? Student 1 put Marvelous Mary's (student 2) picture in the middle of the page. The reply was typed at the bottom of the page. I see Incredible Ian (student 3) looking at me.
Student 2 made the next page. Incredible Ian, Incredible Ian, who do you see? Student 2 put Incredible Ian's (student 3) picture in the middle of the page. The reply was typed at the bottom of the page. I see Graceful Gloria (student 4) looking at me.
This continued for all students.
Student 19 put the reply at the bottom of the page as I see my class looking at me.
The last page of the book has our class name at the top and another picture of the class...I used a silly picture for the last picture and I created this page.
To help the students I gave each student a sticky note. They then checked the name tag of the person who stands in line behind them (as noted above). The name tag checking was to verify the spelling of the classmate's name. Then students grabbed a dictionary and looked for a positive word to use. The word had to start with the same letter as the classmate's name. Marvelous Mary, Incredible Ian, Right-handed Roger (We talked about alliteration.)
Students had to okay words such as acrobatic or jumping to describe their classmate.
Now each student had a sticky note containing the classmate's name and descriptive word. They opened the file containing the template I made for them using the first page verbiage. Students highlighted the words Fourth Grade and changed them to their classmate's name. Then the classmate's picture was inserted. Once we had that much done students saved the file. The next part was tricky for them. They tried to understand and I had to tell them to just listen and follow the directions. They had to "borrow" the sticky note of the person their page is about. So Joyful Jamie (Student 1) "borrowed" the sticky note Marvelous Mary (student 2) made. The borrowed sticky note had the name of the person to put at the bottom of their page. Once they highlighted and replaced the name at the bottom of the page they returned the sticky note to the person from whom it was borrowed. It sounds complicated, but it really isn't.
Each student saved and printed the document. It turned out to be a really cute book. Not only did it give us the opportunity to practice some tech skills, the project allowed us to discuss alliteration, follow directions, use a dictionary, and discuss why some names had a squiggly red line and some didn't.
We published two copies of the book. One was bound and the other was displayed across the wall by our classroom door. We left it up for the entire year.
Here is a photocopy of the template of the book. The students used page 3 (except for the last student who used page 4). I would save a copy of the document and delete the pages not needed for the students for a student template. (I would be glad to share the template. Leave me a message with your email address and I'll send it to you. I will NOT publish your email address.) Post a message to let me know how it works for you and I would love to know what changes you make to it.


I read it to them because I wanted them to create a book. I wanted to create a book using the repetition to give students an opportunity to practice using Publisher and a chance to get to know their classmates. It kept the basic document the same which made it easier for me to focus on the technology skills. They had to find a document (the template I made) in the public folder. The file was renamed and saved in their document file. They highlighted and replaced text. They inserted a picture and re-sized it. They saved and printed their document. (Picture of template below.)
The students each have a number assigned to them in the classroom. The number goes on everything assigned to a particular student. The number is assigned after putting students in alphabetical order. So my first child in alphabetical order is given the number 1. Next gets 2 and so on. Students line up according to their number when we leave the classroom so they are familiar with their number and the students who stand near them in line. I used the class numbers for this project to make it easy to know who was "seeing" whom next.
Student 20 did Student 1, Student 1 did Student 2 and so on. I explained the students would create a page using the classmate who stood behind them in line. The last person in line (referred to as student 20 in this example) did the first student in line (referred to as student 1 in this example).
The first page started with Fourth Grade, Fourth Grade, who do you see? Then we put a picture of the class. The bottom of the page had the reply. I see Joyful Jamie (student 1) looking at me. (All student names are made up.) I made the first page.
Student 20 made the next page. Joyful Jamie, Joyful Jamie, who do you see? Student 20 put Joyful Jamie's (student 1) picture in the middle of the page. The reply was typed at the bottom of the page. I see Marvelous Mary (student 2) looking at me.
Student 1 made the next page. Marvelous Mary, Marvelous Mary, who do you see? Student 1 put Marvelous Mary's (student 2) picture in the middle of the page. The reply was typed at the bottom of the page. I see Incredible Ian (student 3) looking at me.
Student 2 made the next page. Incredible Ian, Incredible Ian, who do you see? Student 2 put Incredible Ian's (student 3) picture in the middle of the page. The reply was typed at the bottom of the page. I see Graceful Gloria (student 4) looking at me.
This continued for all students.
Student 19 put the reply at the bottom of the page as I see my class looking at me.
The last page of the book has our class name at the top and another picture of the class...I used a silly picture for the last picture and I created this page.
To help the students I gave each student a sticky note. They then checked the name tag of the person who stands in line behind them (as noted above). The name tag checking was to verify the spelling of the classmate's name. Then students grabbed a dictionary and looked for a positive word to use. The word had to start with the same letter as the classmate's name. Marvelous Mary, Incredible Ian, Right-handed Roger (We talked about alliteration.)
Students had to okay words such as acrobatic or jumping to describe their classmate.
Now each student had a sticky note containing the classmate's name and descriptive word. They opened the file containing the template I made for them using the first page verbiage. Students highlighted the words Fourth Grade and changed them to their classmate's name. Then the classmate's picture was inserted. Once we had that much done students saved the file. The next part was tricky for them. They tried to understand and I had to tell them to just listen and follow the directions. They had to "borrow" the sticky note of the person their page is about. So Joyful Jamie (Student 1) "borrowed" the sticky note Marvelous Mary (student 2) made. The borrowed sticky note had the name of the person to put at the bottom of their page. Once they highlighted and replaced the name at the bottom of the page they returned the sticky note to the person from whom it was borrowed. It sounds complicated, but it really isn't.
Each student saved and printed the document. It turned out to be a really cute book. Not only did it give us the opportunity to practice some tech skills, the project allowed us to discuss alliteration, follow directions, use a dictionary, and discuss why some names had a squiggly red line and some didn't.
We published two copies of the book. One was bound and the other was displayed across the wall by our classroom door. We left it up for the entire year.
Here is a photocopy of the template of the book. The students used page 3 (except for the last student who used page 4). I would save a copy of the document and delete the pages not needed for the students for a student template. (I would be glad to share the template. Leave me a message with your email address and I'll send it to you. I will NOT publish your email address.) Post a message to let me know how it works for you and I would love to know what changes you make to it.


Wednesday, August 17, 2011
New School Year
Today was the first day with students.
We used Publisher to make a name tag for desks. I made a template for the students to use. They opened the file and highlighted boxes to change information. They inserted a picture to personalize the name tag. The pictures had to be resized to fit in the box. The students saved the file and printed it. Since the name tags have student pictures on then, do I need a seating chart?
Tomorrow we are going to use Bill Martin Jr/Eric Carle's book Brown Bear, Brown Bear to create a book about our class. This will give students a chance to practice what we did today.
Brown Bear Brown activity
Friday we are going to work on a number book for a kindergarten class. Students will get to practice one more time the skills we learned using Publisher although instead of a picture students will use clip art to illustrate the numbers.
Subscribe to:
Comments (Atom)